Friday 30 November 2012

Restoration week.

Sanding down in preparation of laying new baize
Stripping down the old finish by setting the piece on fire. Exciting.
We found a gun in an old cabinet we were restoring. Even more exciting.
Veneer repairs. A spot of paint and polish and it will look good as new.
The gods of woodworking appear to have decided that I haven't done enough sanding for my day job, so as part of restoration week, I've got to do some more (and by hand). I've really enjoyed this week overall - we've had a guest tutor in, Simon MacIntyre, who specialises in furniture restoration, and he's been excellent. Plus, the good news is that he will be back some time in Term 3 as well.

I find it quite difficult to think in 3D, so its nice to have a piece to disassemble and see how it all fits together. Especially if there are any tricky bits like hidden hinges or secret compartments. Its also been very interesting to see the different types of furniture which have come in and the areas which are the stress points over time. Joints are of course the number one area of breakage and can mostly be salvaged by the application of a little glue or a nail/dowel or two. You would also be surprised at the amount of difference a new coat of wax makes.

In project land, things have been going a little less smoothly. The lack of timber for my project has resulted in me spending a lot of time this week planing down planks and gluing bits (each 1 cm thick) together to make a block large enough for me to work on (35cm required). That's a lot of planing and cutting and gluing up. You lose so much wood in the planing process - a block of wood which starts off 2 inches thick often ends up less than an inch thick once its all flat, due to variances in thickness all round. Still, I think I now have most of my wood, barring a one or two small pieces and hopefully things will start coming together now.


Friday 23 November 2012

Progress?

Ask and you will receive. Its Christmas come early this year. Last week I jokingly asked Graham if I could borrow a small child to do my sanding. Lo and behold at the start of this week, we get a student on work experience who helped me do a spot of sanding at the start of the week. They sure don’t make ‘em like they used to though, as I broke this one after about 2 hours of sanding when he gave up and asked to be excused. Hmph, try camping out in the sanding room for the third week in a row is what I say!

This week I’ve finally got to use the lathe and do a little wood turning which is much fun. I’ve found its quite important to go quite slowly and gently, as otherwise you end up taking out a much larger chunk than you mean to, and we all know there’s no going back from that.

We've also been busy making a veneer hammer - its not perfect, but its probably the only thing I've made during my bench skills sessions which is remotely any good. And that has nothing to do with the construction, but more with the fact that the wood (burr oak, if anyone is interested) is soo pretty.


After three weeks, I can safely say I've used every single sander in this joint, including big bertha and various made up ones using drill bits!

My veneer hammer.
5,000,000 hours of effort and an equal amount of swearing to produce the first step in my cabinet.

The lathe.


With woodwork, as I guess anything else in life, there are good days - like yesterday when things slowly come together and everything seems to be working (more or less). And there are bad days. Like today, where I've spent 10 hours trying to fit two shelves and attendant runners into my cabinet and even then they've not come out too good. For the record, I don't think something as "simple" as that is meant to take that long.

Some handy tips from this week though:
An accident with the sander and some veneer.
       Use eye protection (and preferably wear clothes without pockets) when on the lathe as the shavings get everywhere!
       Be careful when sanding veneer, as you might end up sanding through it into the plywood underneath.
        If you feel like you are fighting against the machine all the time, chances are something is wrong (eg the blade needs changing). Take a step back and reassess the situation before proceeding.
        Support your wood as it goes through a saw (whether it be the table saw, cross-cut saw or band saw), especially if its a funny shape. Use packing veneer or blocks of offcuts in the right shape to ensure that the cut is even all the way through.


Friday 16 November 2012

Sanding.

When you think you smell something burning, you probably do. That one was the dust extractor blowing a fuse. I would like to maintain I had nothing to do with it (just happened to be passing by at the time), although it does feel like I've been camping out in the sanding room over the last two weeks.

Sanding has been one of the many unpleasant tasks that I am slowly trying to come to grips with (routing is still number one on the list). To be fair, sanding is less unpleasant with a gas mask on (sans slug - and don't even get me started on how that got in there! Needless to say that it was pretty unpleasant) and merely falls into the tedious category. Which is why I like to do my sanding in the evenings, when the room is empty and I can do a little jig and sing a little song to liven up the process without someone asking me if I am in pain/convulsions.

Despite this week being short (4 days! Yay!), its been a busy one. Apart from the sanding, routing and general project work (which despite all this does not really seem to be going anywhere), we've been doing a little brick building, making coopered boxes and learning how to use bendy ply to make curves.   All fantastic stuff, if a little knackering. Now if you'll excuse me, I might go for a wee walk in the woods.

The trick is glue sizing  first.
Brick build all clamped up. The gaps miraculously disappear on sanding.
Sanding the brick build into shape.
My brick build and coopered box. I was particularly proud of my brick build until I ruined it by sticking a base on it. It would have been alright if the base fit.
Laminated bendy ply. Better than routing.
Sticking various routed bits together, and sanding them down.


Sunday 11 November 2012

Dovetails.

I must admit that this week has been rough. After two whole days of routing and a full day of sanding, I seem to have not gotten much further on my project. On top of that, we've had the neigh impossible task of making the dovetails in our apprentice boxes by hand. I've found the process pretty demoralising, as despite all the will in the world, I just can't seem to make mine flush.

My head knows that one does not become an expert woodworker overnight, just because you happen to have enrolled in woodworking school, and that it will take time for my skills to develop to an acceptable level. It also knows that for someone who has only this year picked up a saw, hammer and plane I am doing pretty well just keeping up with the course and bashing these out on target. But head and heart don't seem to be communicating too well at the moment, and so here I am a little down on myself for not getting them perfect. Because they should be. And God knows its not for a lack of trying.

Thankfully though, a trip back to civilisation this weekend and some time off to attend a lovely wedding has given me a bit of space to reflect on all that I've achieved in the last month and to remember why I am doing all of this. So despite the grubby chimney sweep fingers, and the aches, pains and scrapes I've accumulated in the last month (my little hands are sadly still sore and swollen  notwithstanding the impromptu hand massage at said wedding - a long story which I will save for another day), I find myself looking forward to the start of another week. Although if I never have to do another dovetail again I won't be too upset by it!
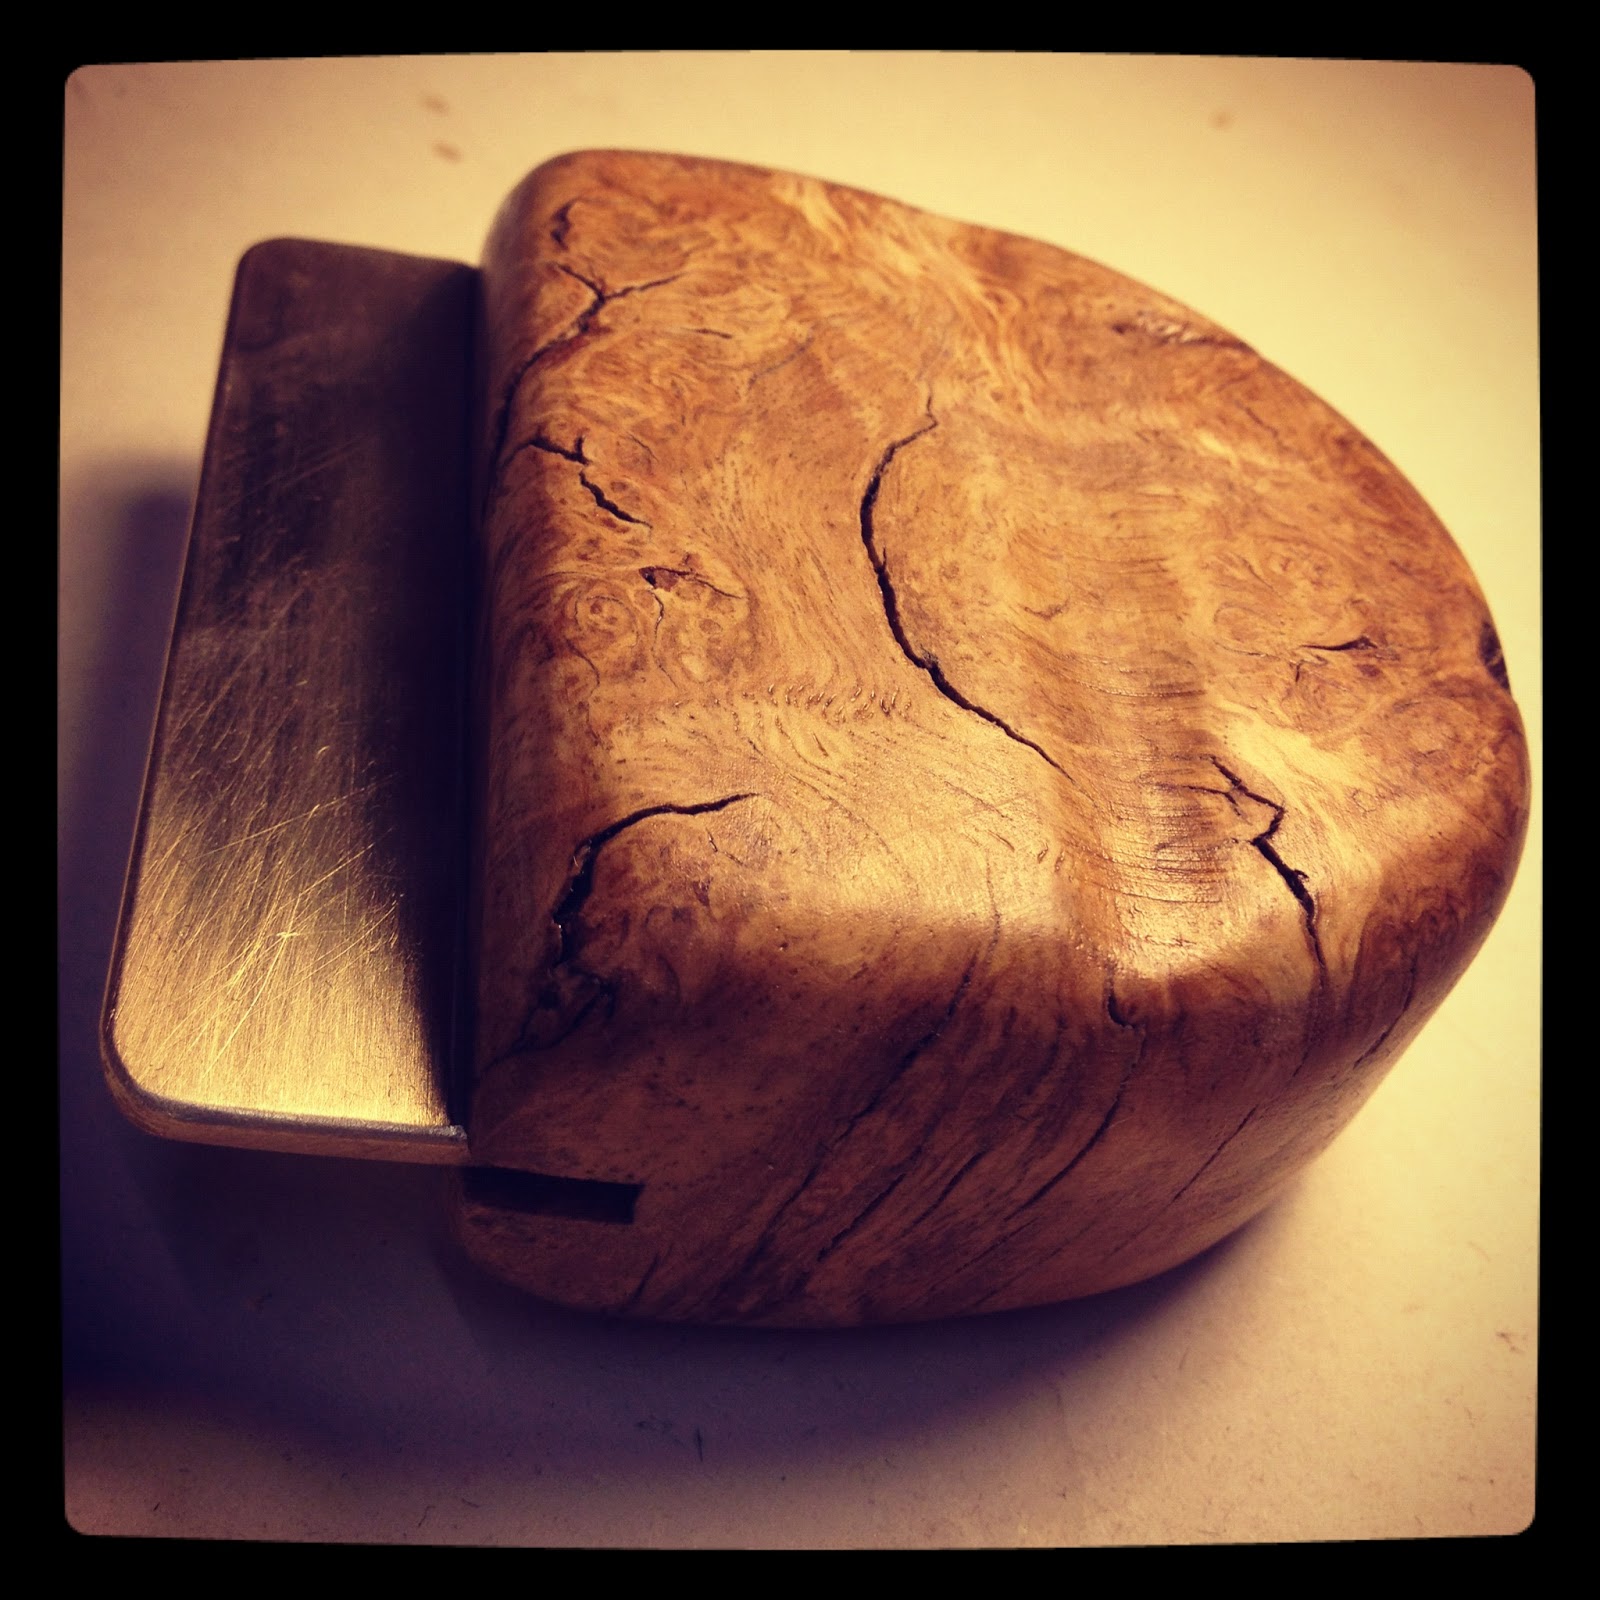
Some sawdust and glue to fill in the gaps. 
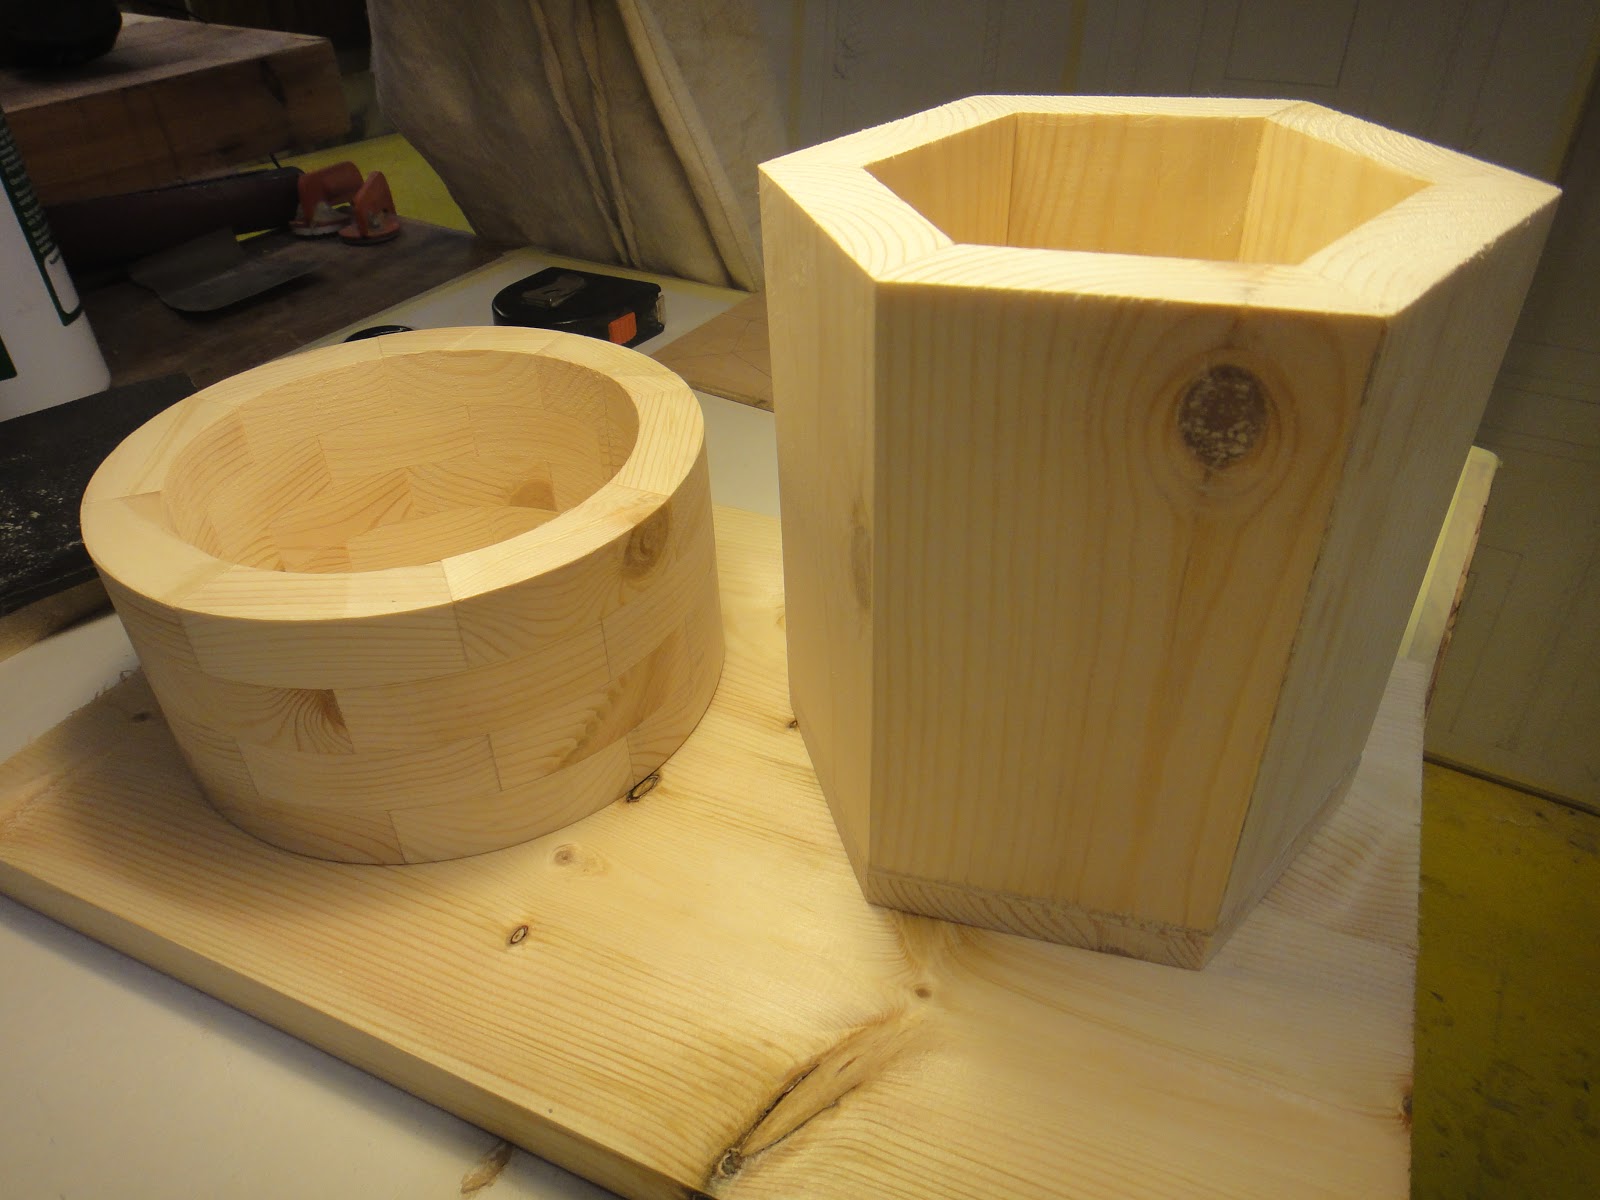
Accursed dovetails


Sunday 4 November 2012

Machines.

So I've finally overcome my instinctive fear of bandsaws, when I get introduced to an even meaner, scarier machine - the open table router. Its a horrible thing which sucks up end grain and spits it out, leaving one's precious timber full of unsightly gouges if not careful. After about 5 hours on the blasted thing I'm just about able to do a run without too much of a palaver, and even then its still a pretty unpleasant experience.

Routed cabinet tops - only a million more to go without cutting my fingers off
Work on my project is plodding along. I've got various bits cut out and have run out of wood about 1/3 into the process, most of next week will be spent on the bandsaw and router but hopefully once that's finished, the most difficult bits will be done.

Bench skills this week have focused on more joints - different types of mortices and tenons, and lap joints. I'm still more than a little dissatisfied with the standard of teaching/tutoring on the course, but trying to make the most of it. I may be a total beginner, but even I can sense that spending a paltry 2 minutes teaching us how to sharpen our tools is just not going to cut it (again, thank goodness for the course I did with John Lloyd).

A relatively successful fox wedged mortice and tenon 
Apparently sawdust and glue helps mask any less successful joints made - didn't seem to work in my case
Ps - the claws are back, together with an assortment or minor scrapes and bruises. Ho hum.